


What’s in a sandbox?
Each sandbox comes with:- Your repos- Cloned and ready, with the correct branch checked out.
- Docker- Full Docker and Docker Compose support. Run containers, spin up databases, pull images, start services.
- Secrets- Your development-specific secrets (like
.env.local) are injected securely at runtime and re-injected fresh on every resume. - Network access- Full outbound access to API services, package registries, and external tools. This is configurable and fully air-gapped self-hosted deployments are possible.
- Actions- Secure access to your configured actions (GitHub, Linear, Sentry, and more). Agents and sandboex never get raw credentials- all access is intermediated via the gateway.
- Coding agent- A terminal-based coding agent powered by the LLM of your choice (currently proudly powered by OpenCode!)
Setting up a configuration
A configuration groups the repos for a project and saves the environment so every future session starts from the same place. You can set it up once, and then have every teammate reuse it forever.Create a configuration
Go to Configurations and click New Configuration. Select the repos that make up your project and give it a name.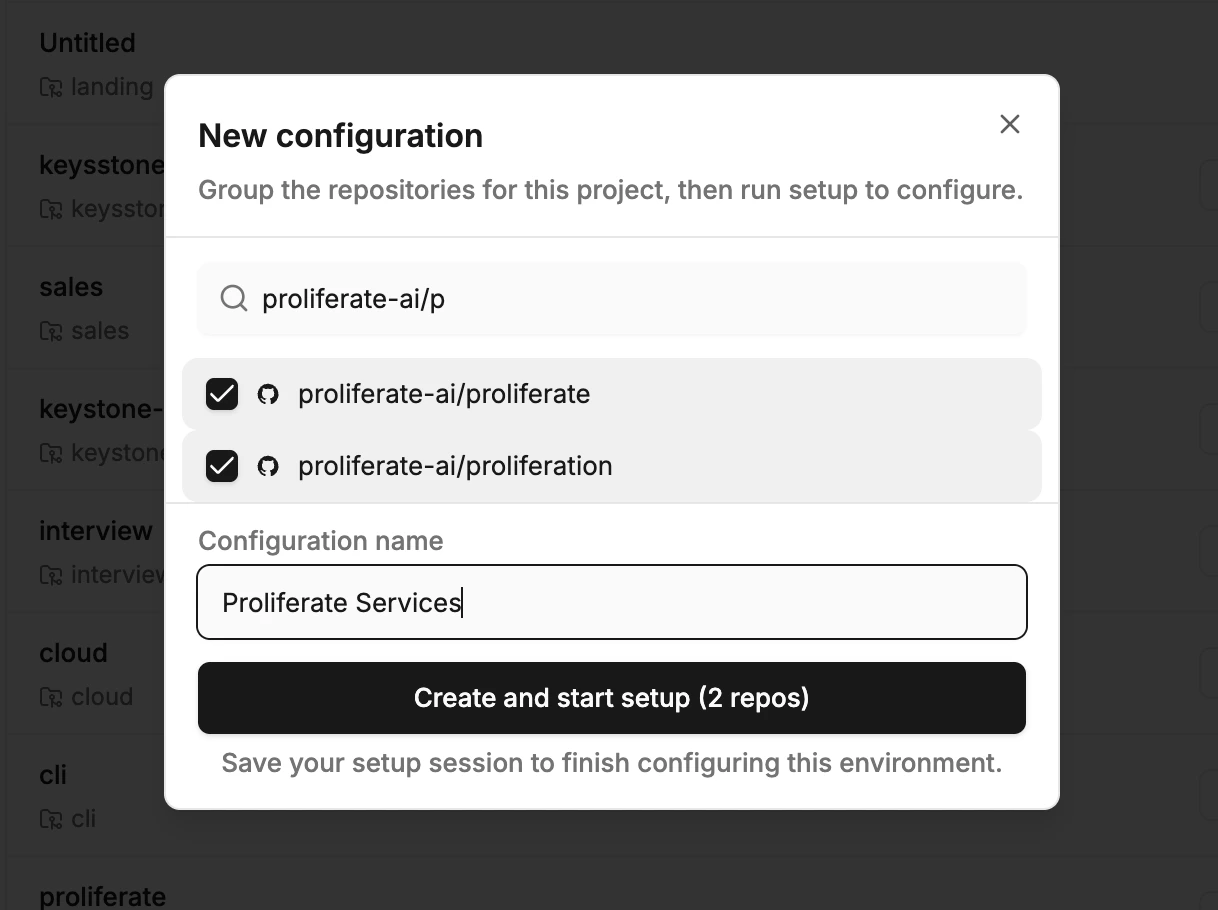
Run a setup session
After creating the configuration, you’re dropped into a setup session. Here you (or the agent) install dependencies, start Docker containers, and do anything else you’d do when setting up a project locally.You can do this by chatting with the agent or by using the Terminal tool directly.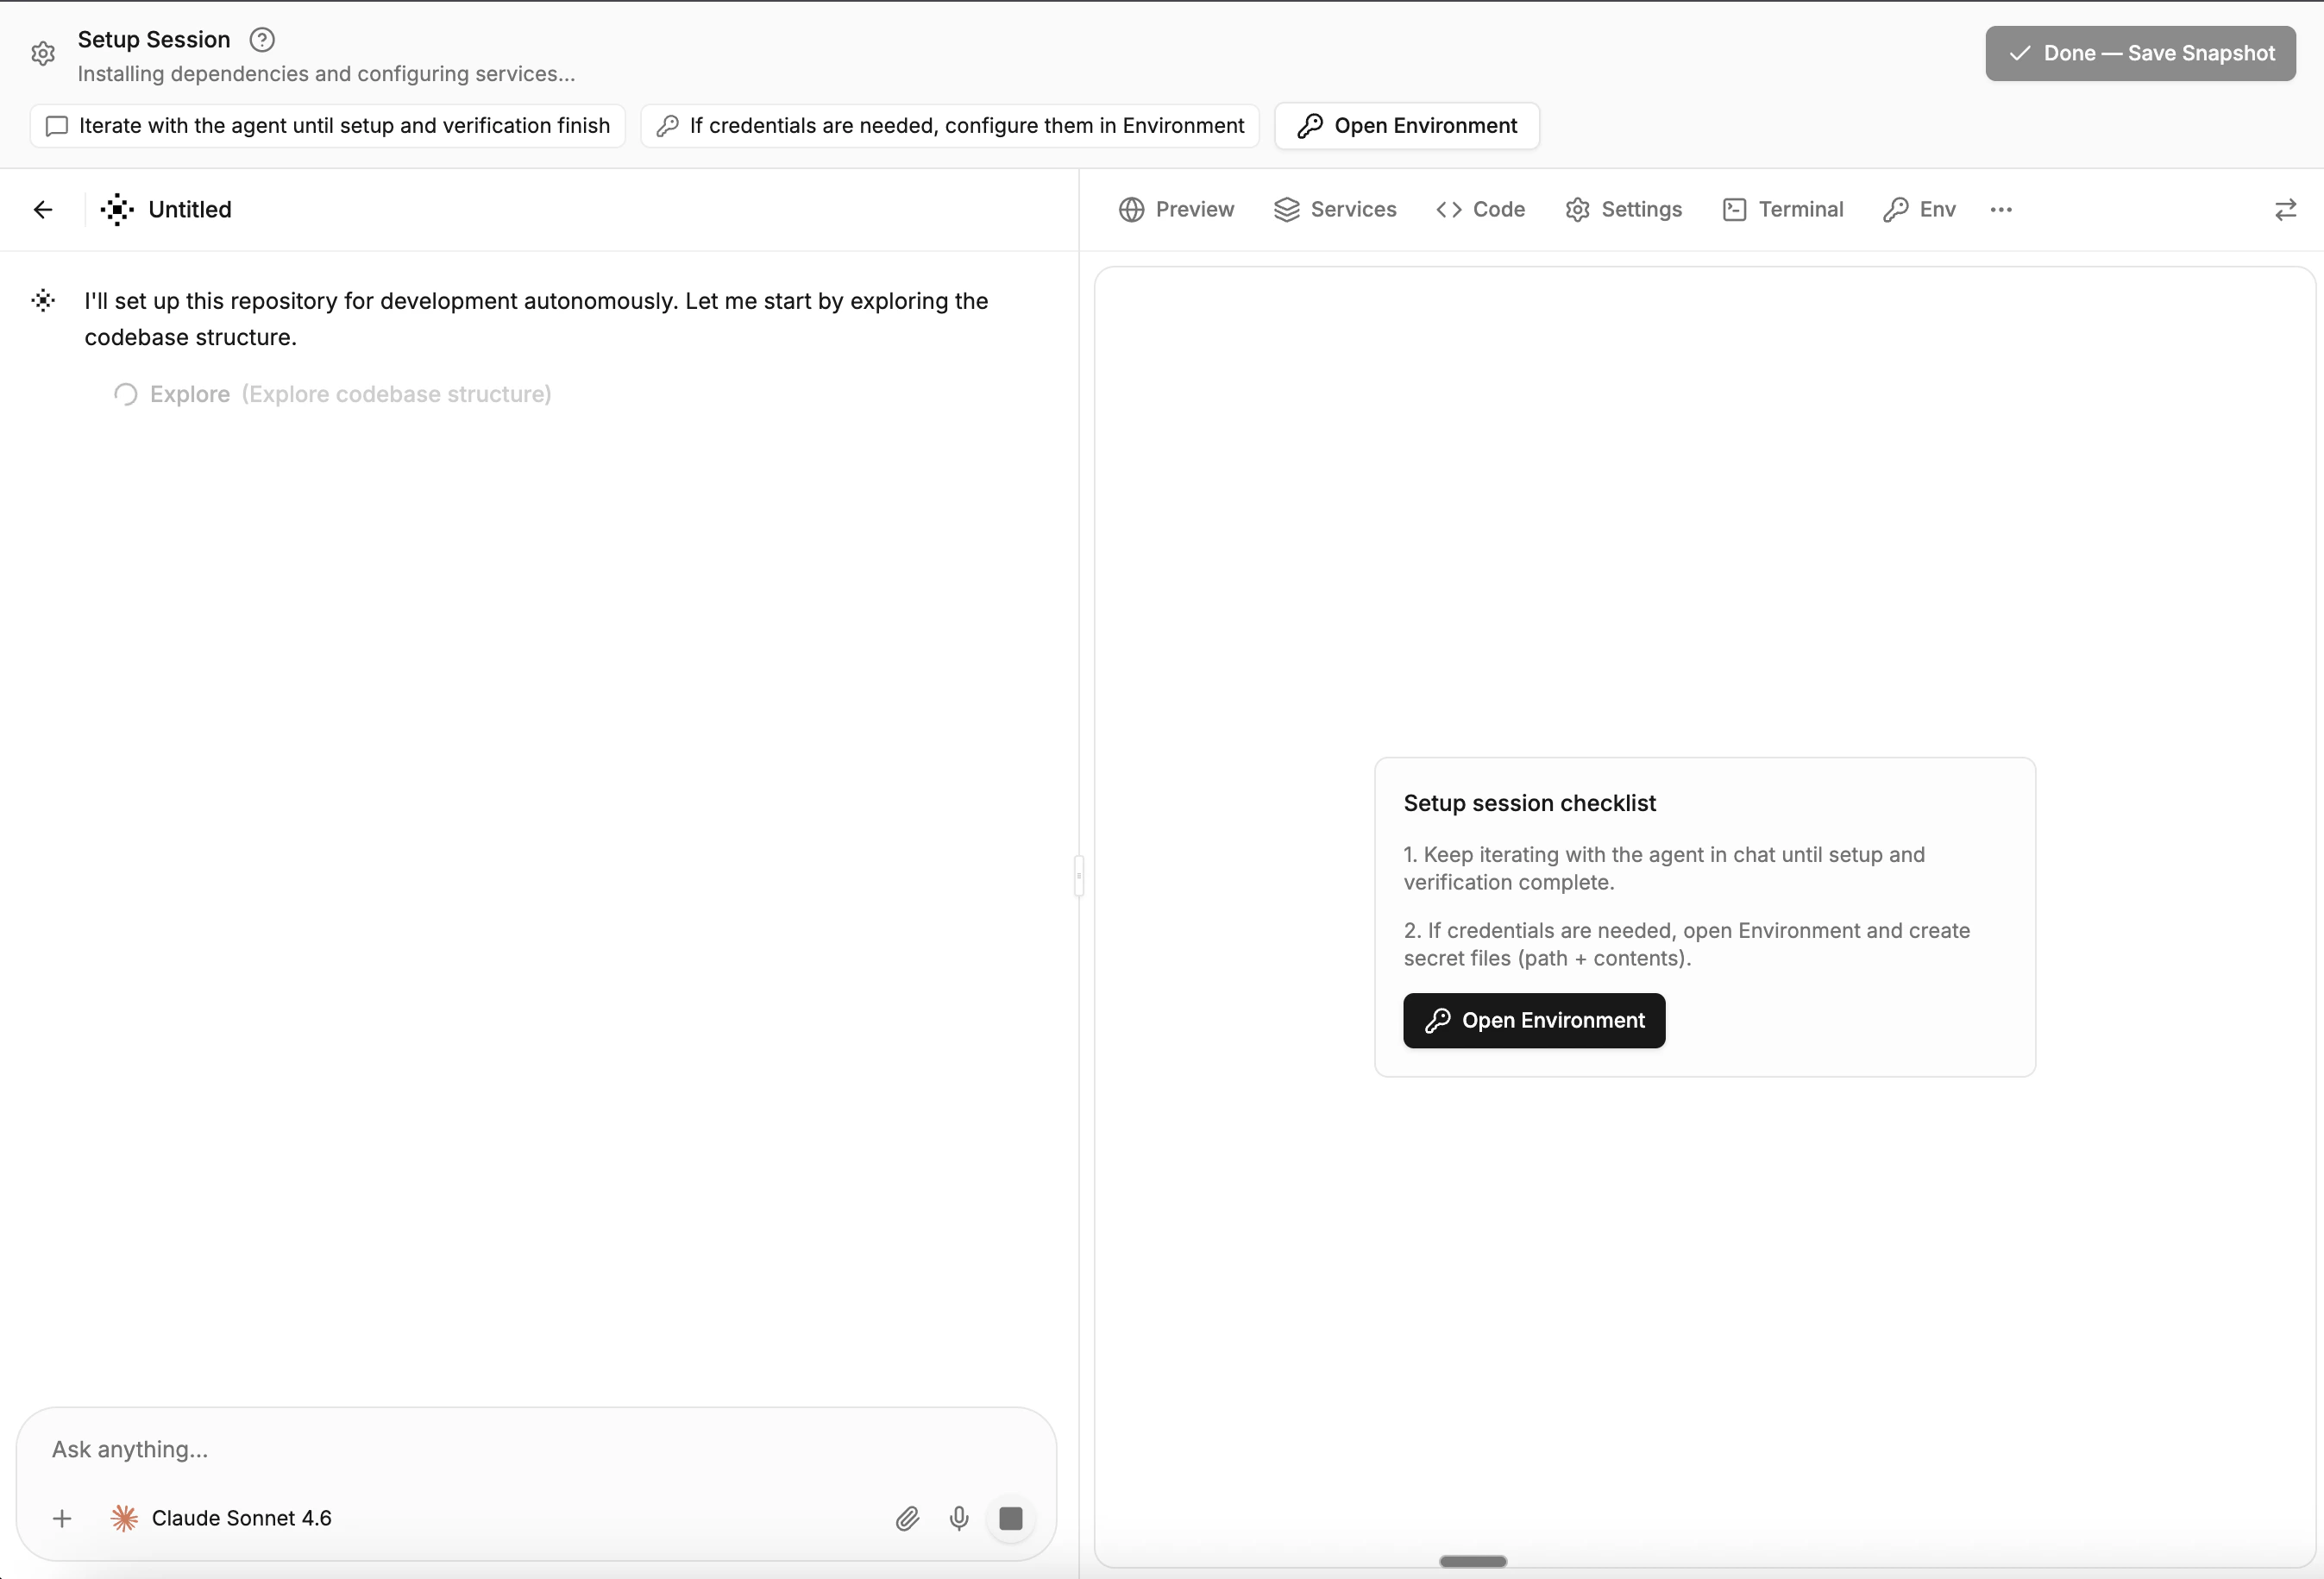
Configure service commands
Set up the commands that should run automatically when a session starts- things like
pnpm install, docker compose up, or pnpm dev. You can configure both one-time setup commands (install dependencies) and long-running service commands (dev server, database, background workers) from the configuration’s detail page.Set up secrets
Add your development secrets so they’re written into the files you need (like 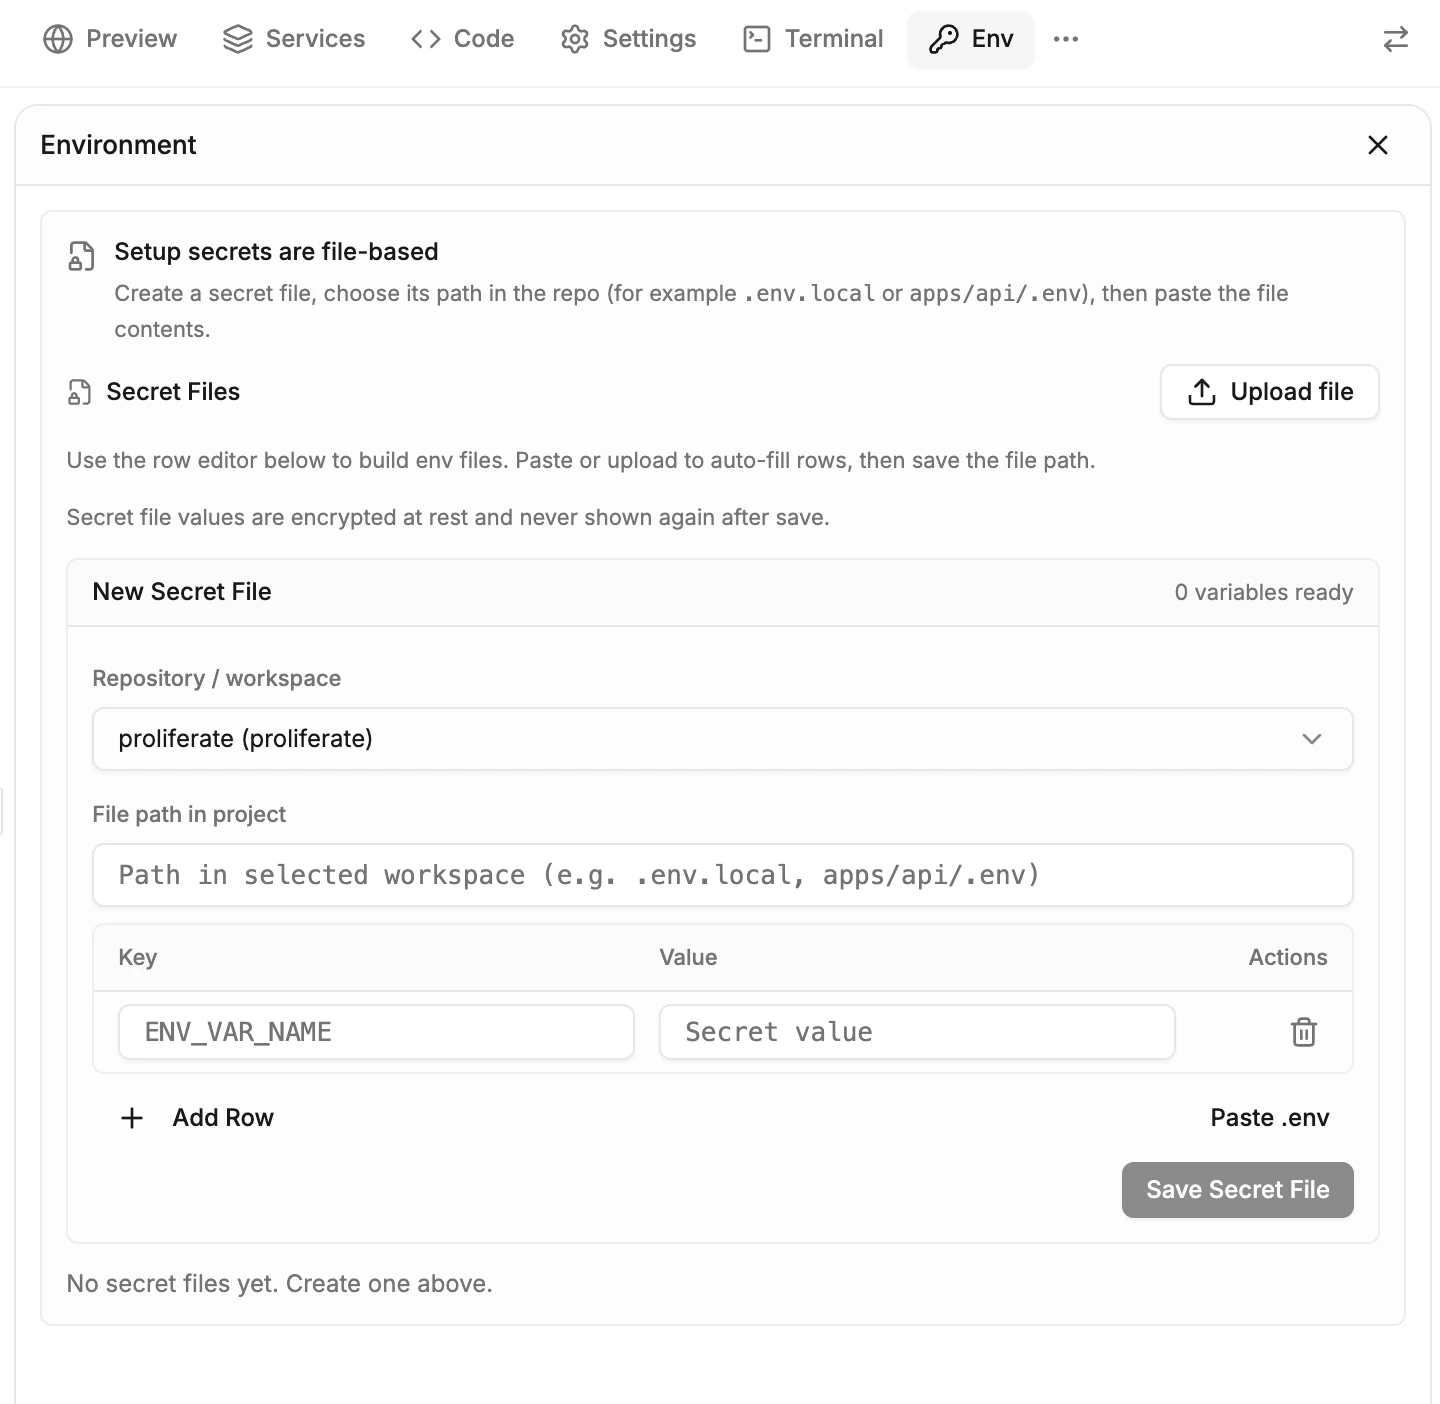
.env.local or any other config file) at the start of every session. Go to Settings > Secrets, add your key-value pairs, and scope them to specific repos or share them across your organization.Secrets are encrypted at rest and injected fresh every time a sandbox starts or resumes. They are never persisted in saved environments.Using sandboxes
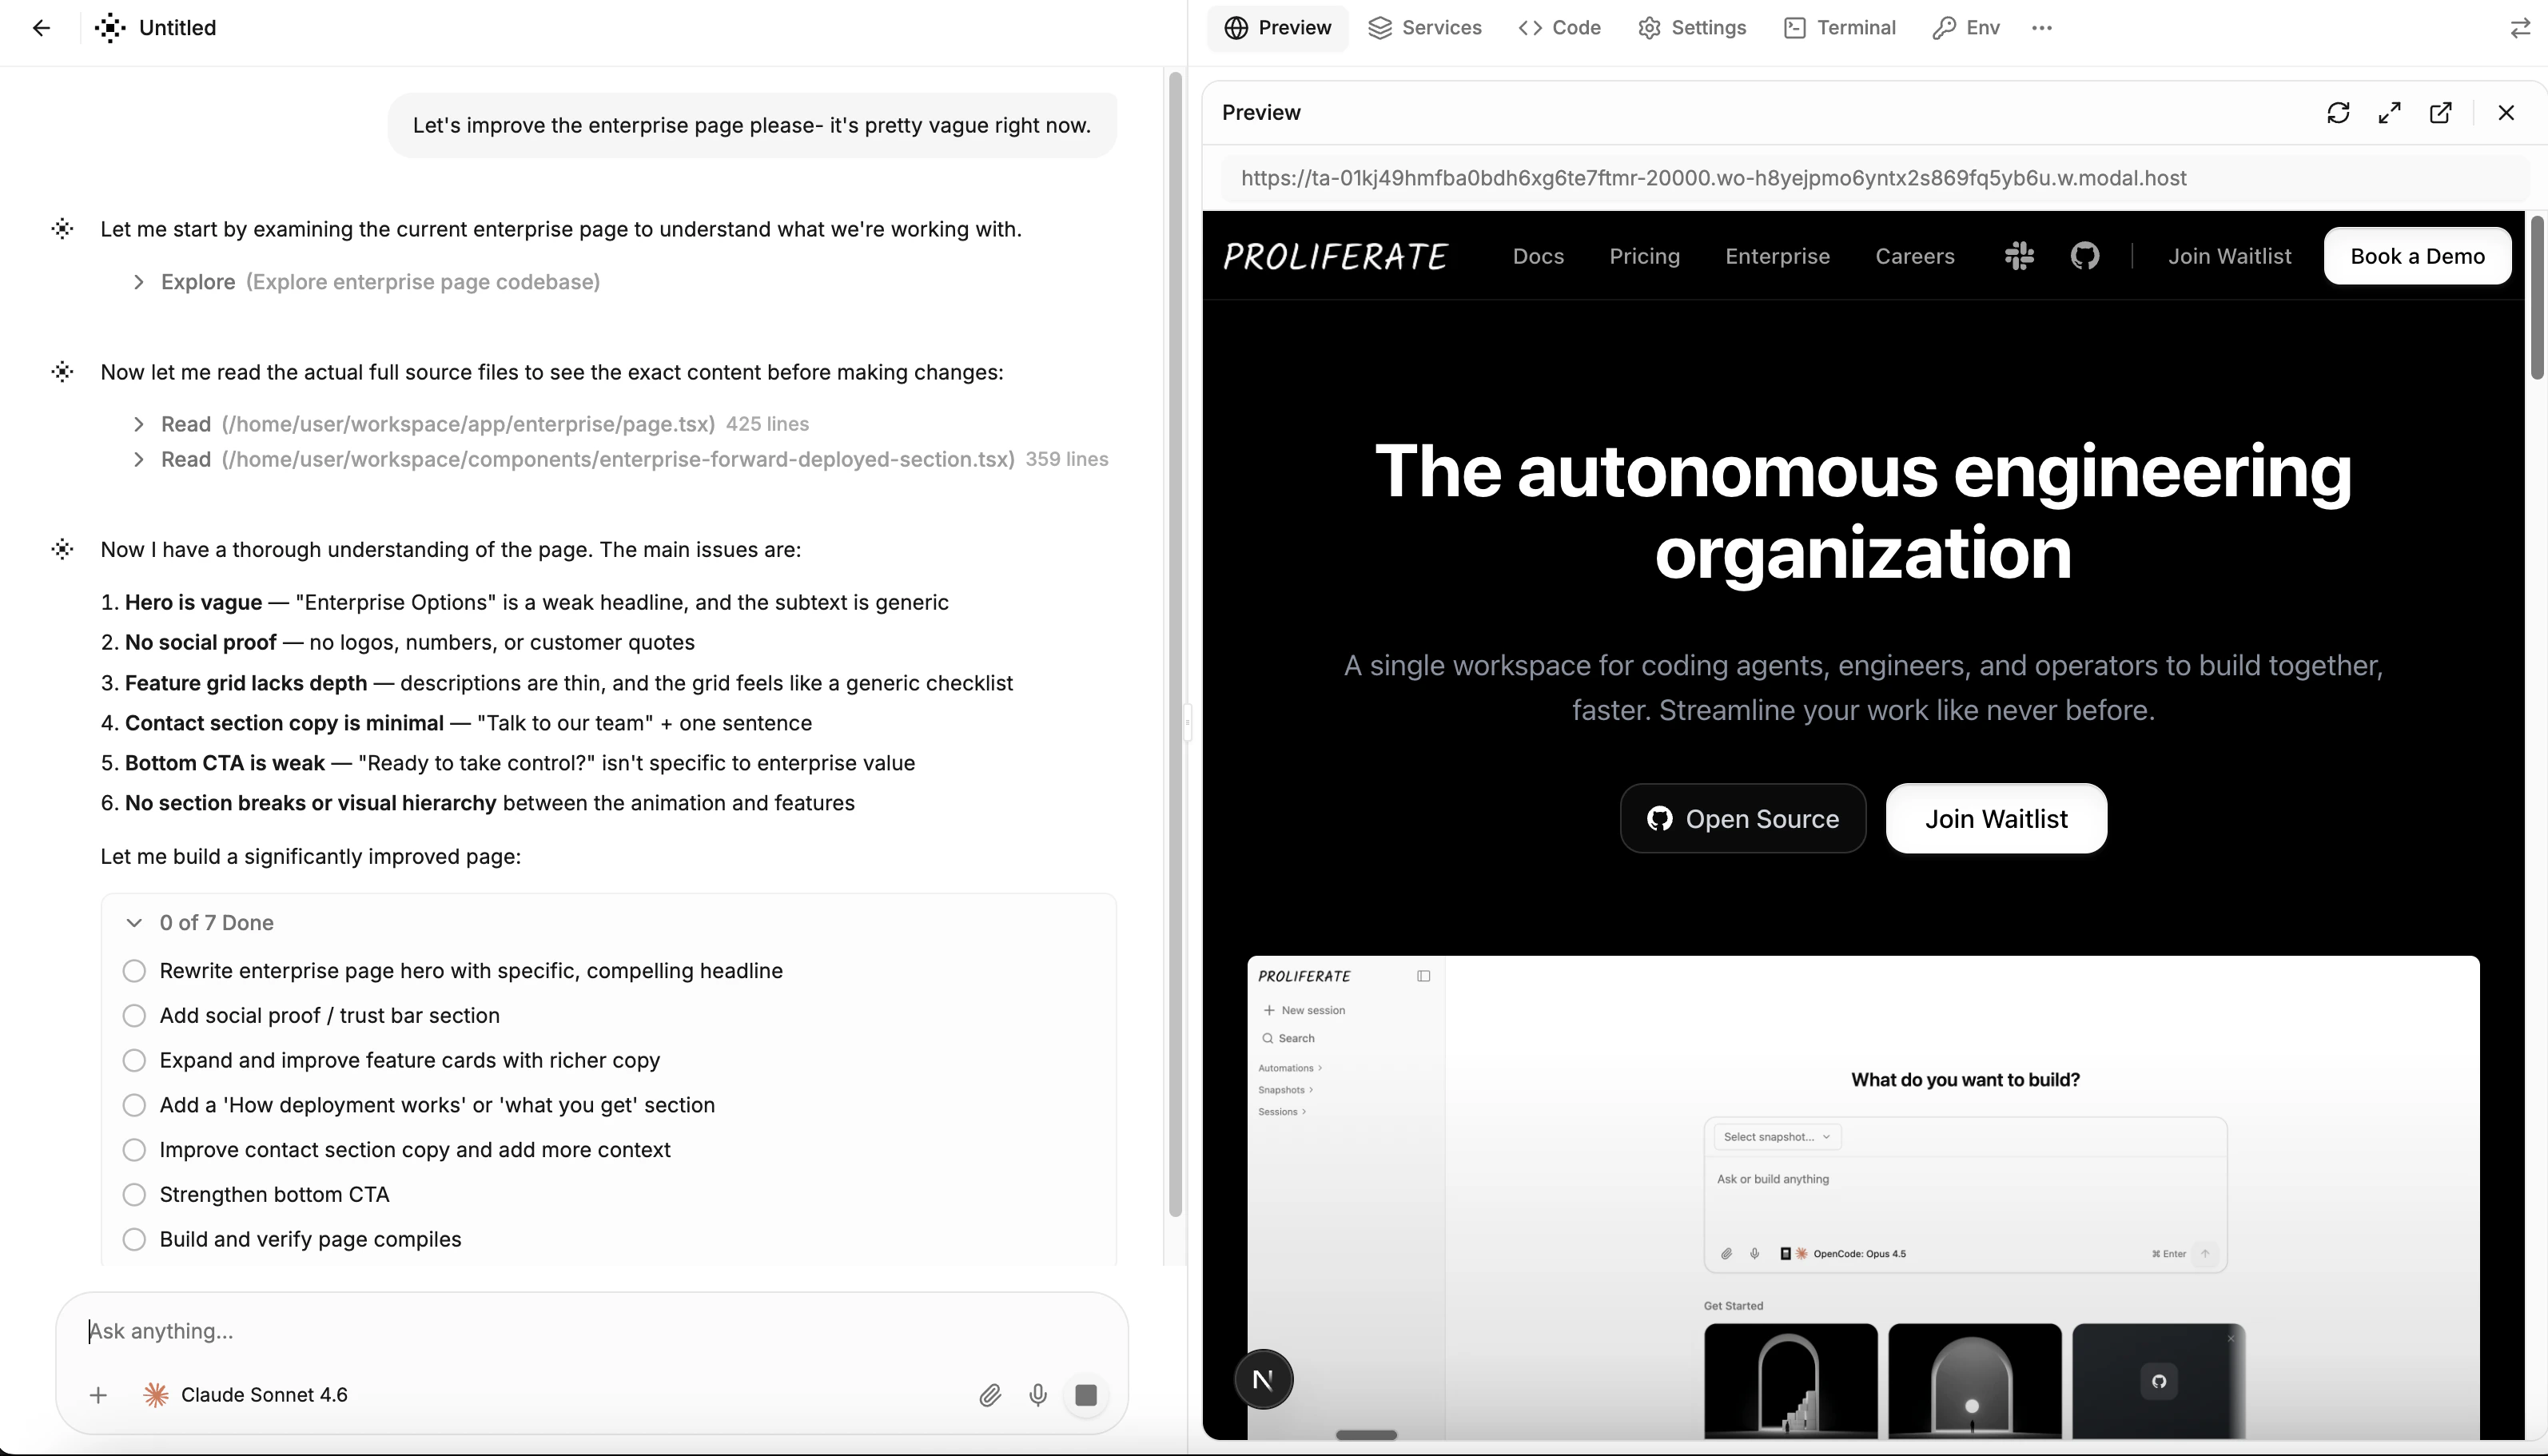
Once your configuration is set up, every new session launches into the workspace. The workspace has a chat pane on the left and a set of tools on the right.Preview
Preview
Live preview of your running application. When the agent (or you) starts a dev server, Proliferate detects the running service and exposes it at a unique URL. Anyone with the link can see the preview for 24 hours.Preview URLs are automatically included in Slack messages, Linear comments, GitHub PRs, and the web dashboard.
Services
Services
Manage long-running processes like dev servers, databases, and background workers. Start, stop, and restart services, and view their logs in real time.Service commands configured on your configuration run automatically when a session starts.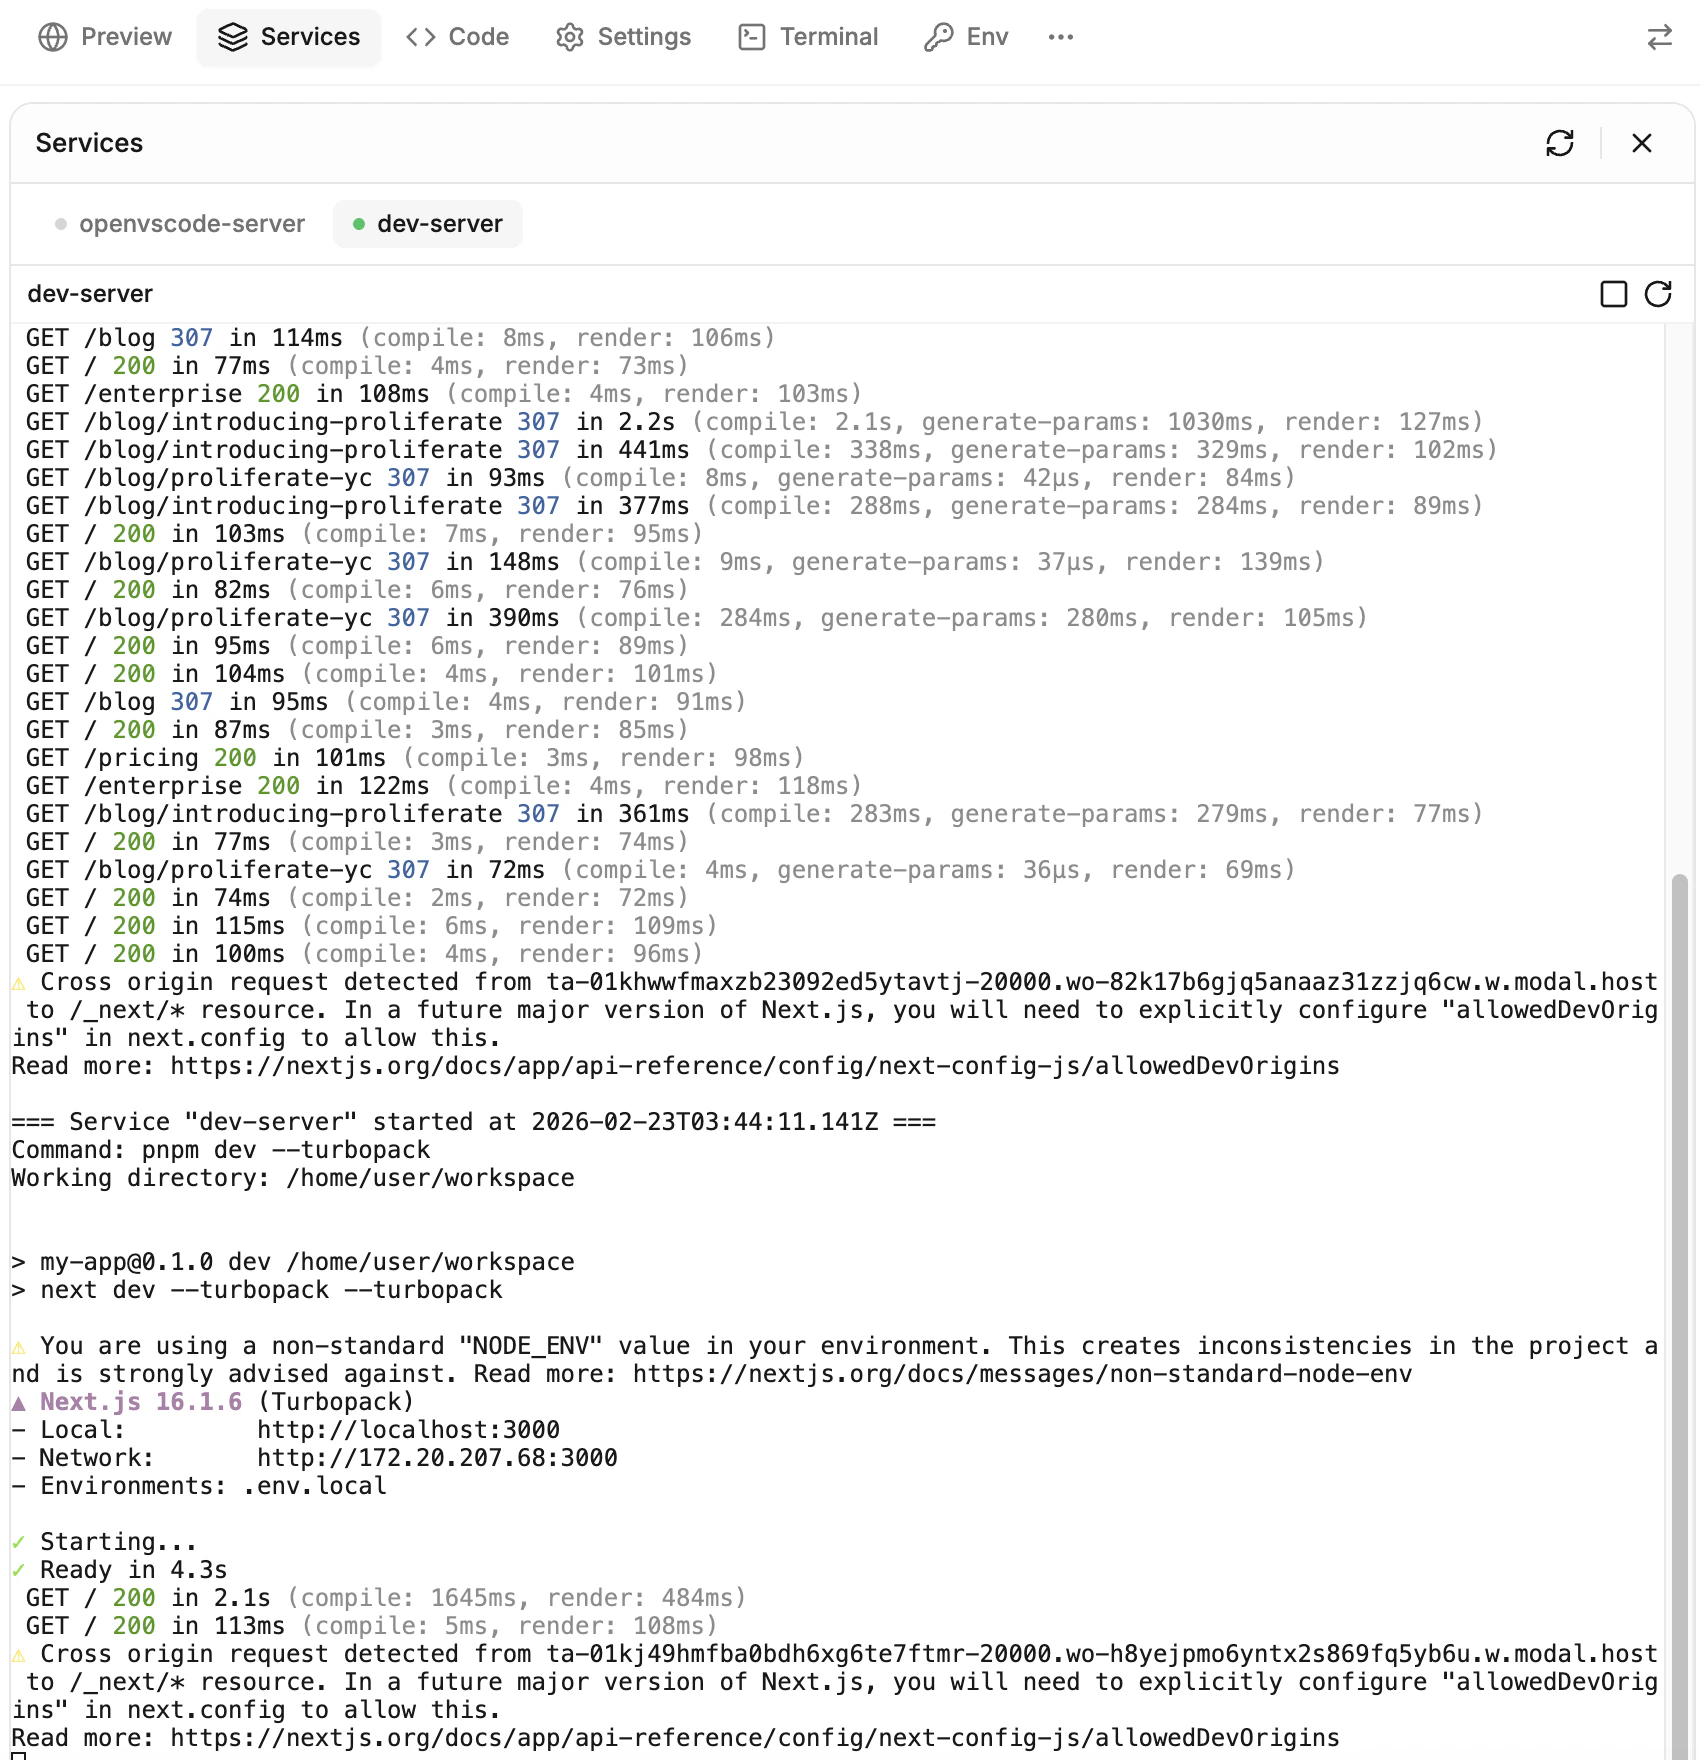
Code
Code
A full VS Code editor running in the browser. Browse files, make edits, and use extensions- all inside the sandbox.
Terminal
Terminal
A full interactive terminal connected to the sandbox. Run commands, install packages, debug- anything you’d do in a local terminal.
Git
Git
Git operations without leaving the workspace. View diffs, switch branches, commit changes, push to remote, and create pull requests.
Env
Env
View and edit environment variables and secrets for the current session. Changes are applied immediately without restarting the sandbox.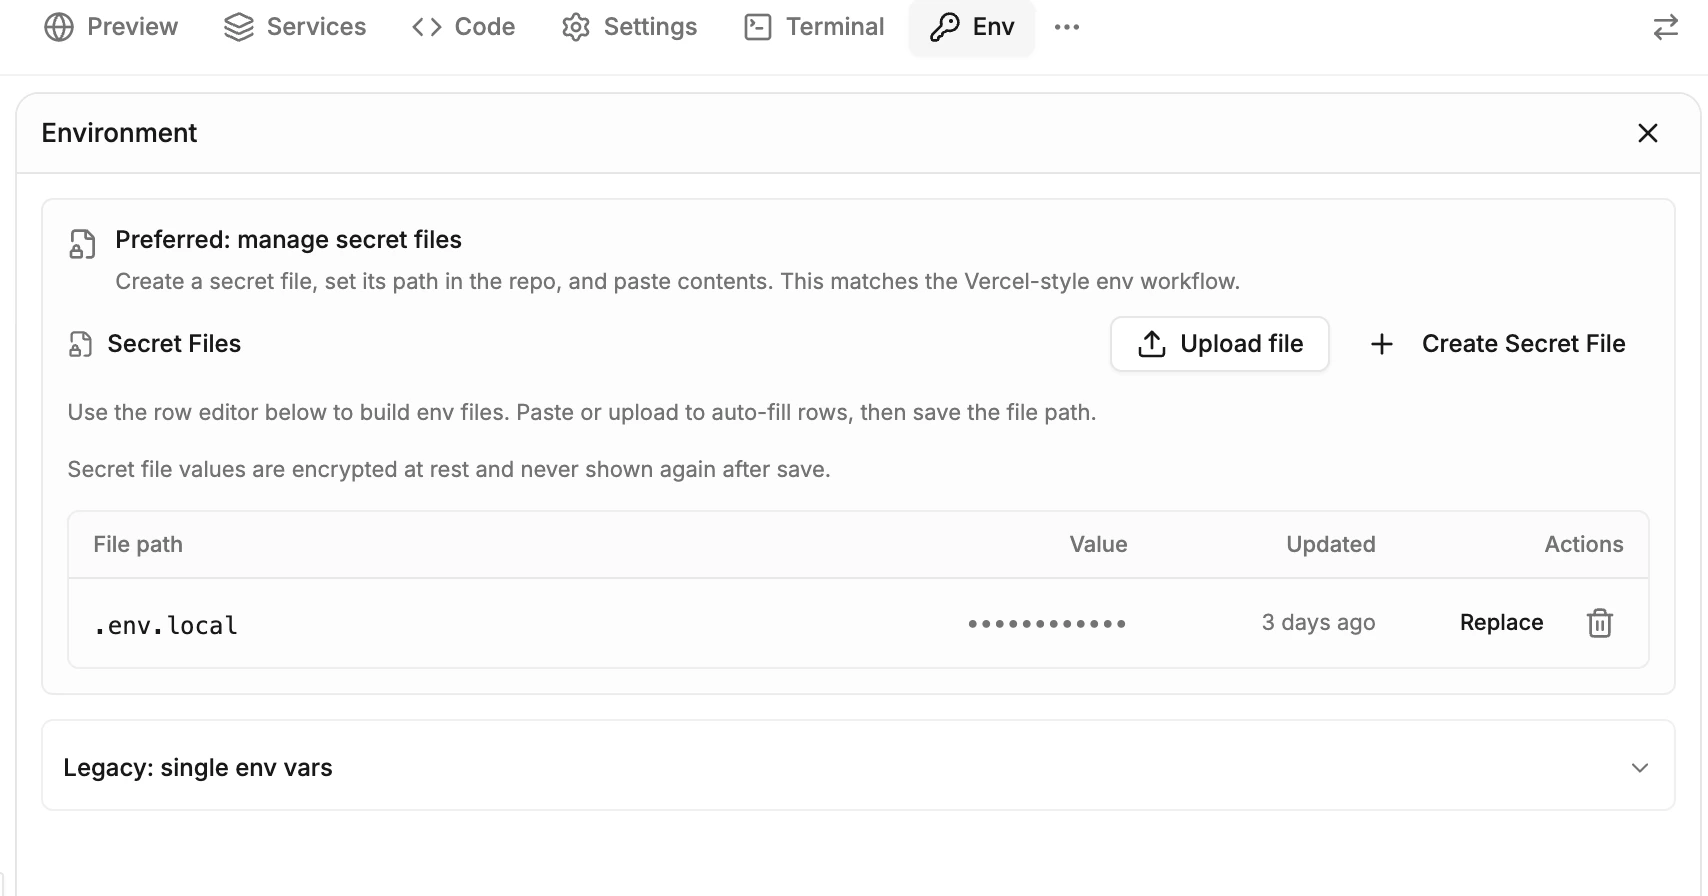
Workspace
Workspace
Browse artifacts and files created during the session. View verification screenshots, generated files, and other outputs the agent has produced.
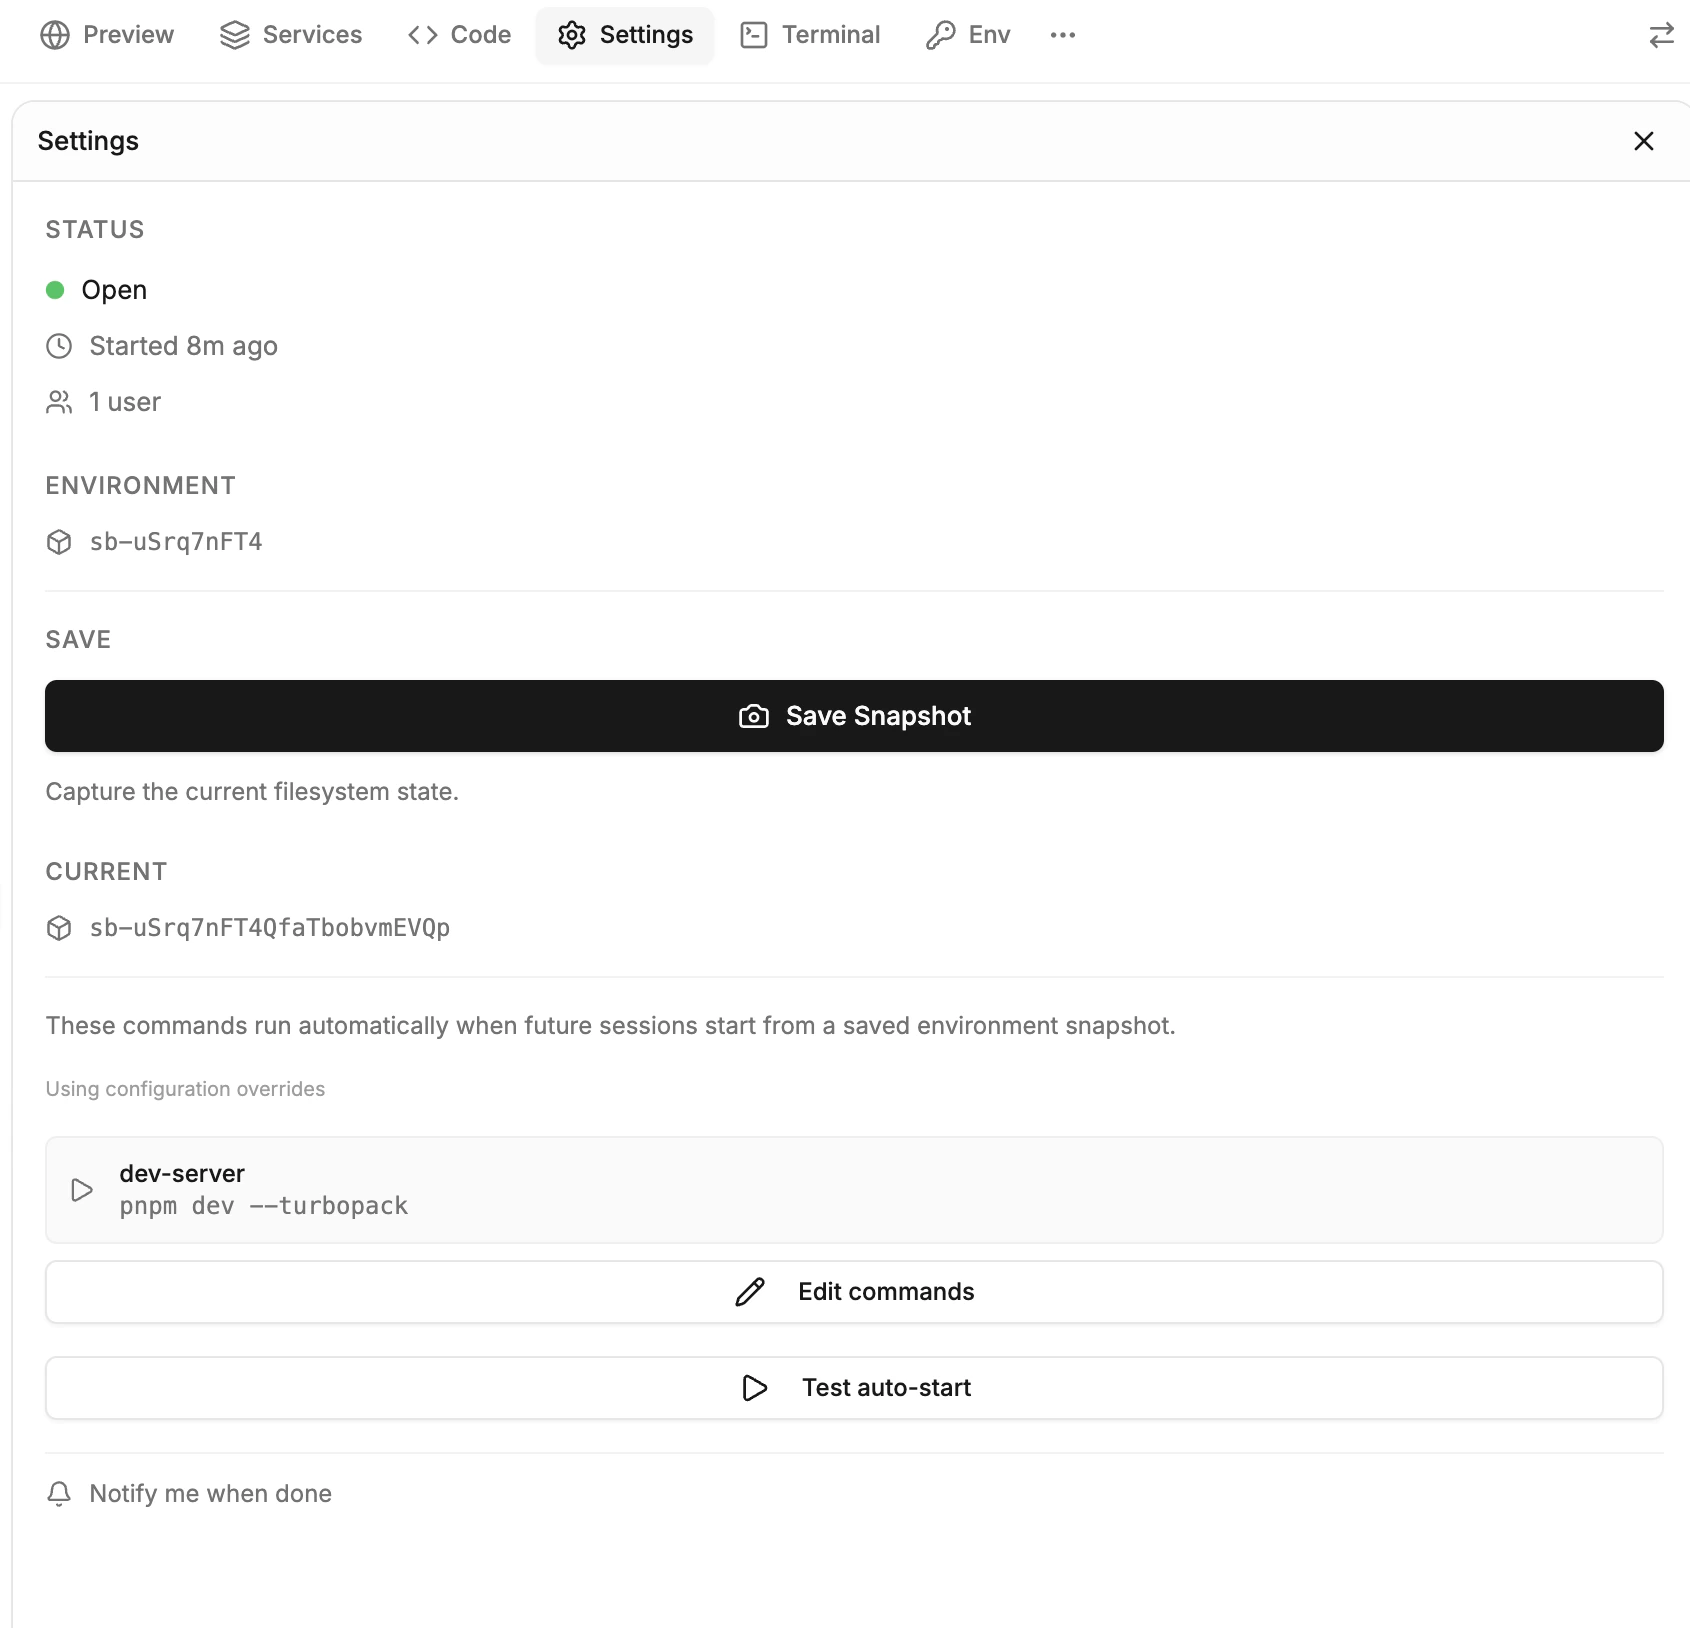
Settings
Settings
Session info, snapshot management, auto-start configuration, and notification preferences.